Mountain biking is a thrilling and exhilarating activity that demands top-notch performance from both the rider and the bike.
One crucial component that often goes unnoticed is the bike chain.
A well-maintained chain ensures smooth and efficient power transfer from the pedals to the wheels, enabling you to tackle challenging terrains with ease.
But what happens when your trusty chain starts showing signs of wear? It’s time for a replacement!
In this comprehensive guide on how to put a chain on a mountain bike, we will walk you through the process of putting a new chain on your mountain bike, ensuring compatibility, accurate sizing, and seamless installation for optimal performance.
Let’s get started on revamping your ride!
Key Takeaways
- Identify chain compatibility to ensure optimal performance.
- Follow manufacturer instructions and use professional tools for installation.
- Test, adjust and maintain the chain regularly for a smooth ride experience.
Identifying Chain Compatibility
Before embarking on your mountain bike chain installation journey, it’s crucial to ensure that the new chain is compatible with your bike’s drivetrain. This involves checking both the speed and brand compatibility of the chain, as these factors influence how well your bike will perform after the replacement.
After all, you wouldn’t want to invest time and effort into a chain that doesn’t match your bike’s specifications, would you?
Speed Matching
Determining the appropriate chain speed is an essential step in ensuring a compatible and smooth-functioning chain. The number of gears on your bike dictates the required chain speed, with the chain pin playing a vital role during installation. For instance, 6, 7 or 8-speed cassettes usually have compatible chains, making it easier to find a suitable replacement. However, using a narrow chain on a wider cassette/chainring set may result in frequent detachment and a less-than-ideal riding experience. So, always confirm that the chain is compatible with the number of gears on your bicycle.
If you have a 9-speed drivetrain, you might wonder if a 10-speed chain would work. The good news is that 10-speed chains are generally compatible with 9-speed drivetrains, but make sure the outer link of the chain matches the drivetrain for seamless performance. By ensuring speed compatibility, you can avoid potential issues down the road and enjoy a smooth ride on your beloved mountain bike.
Brand Compatibility
Brand compatibility is another crucial aspect to consider when selecting a new chain for your mountain bike. While most mountain bike chains are compatible with major cassette brands, it’s essential to watch out for any exceptions, such as the compatibility of KMC bike chains and Shimano and SRAM compatible chains. Before replacing your old chain, inspect the cassette and chainrings for signs of wear and consider upgrading to superior models if necessary. Don’t forget to consult the manufacturer’s instructions regarding installation techniques and processes.
To ensure proper chain tension during rides, it’s also a good idea to check the gear shifters and shifting cables. By paying close attention to brand compatibility and your bike’s components, you can guarantee a successful mountain bike chain installation, enhancing your ride’s performance and prolonging its life.
Essential Tools for Mountain Bike Chain Replacement
Now that you’ve determined the compatibility of your new chain, it’s time to gather the necessary tools for the chain replacement process. Equipping yourself with the right tools can make the task much more manageable and efficient. Essential tools for mountain bike chain replacement include a chain splitter tool, pliers, master link pliers, degreaser, and chain lube. A chain breaker tool is vital for detaching the existing chain and trimming the new one to the appropriate length.
For disassembling a Shimano chain, a chain splitter tool is required. Although quick link pliers are not essential for removing the old chain and installing the new one, they can be handy for specific chain types. Armed with these tools, you’ll be well-prepared to tackle the chain replacement process like a pro bike mechanic!
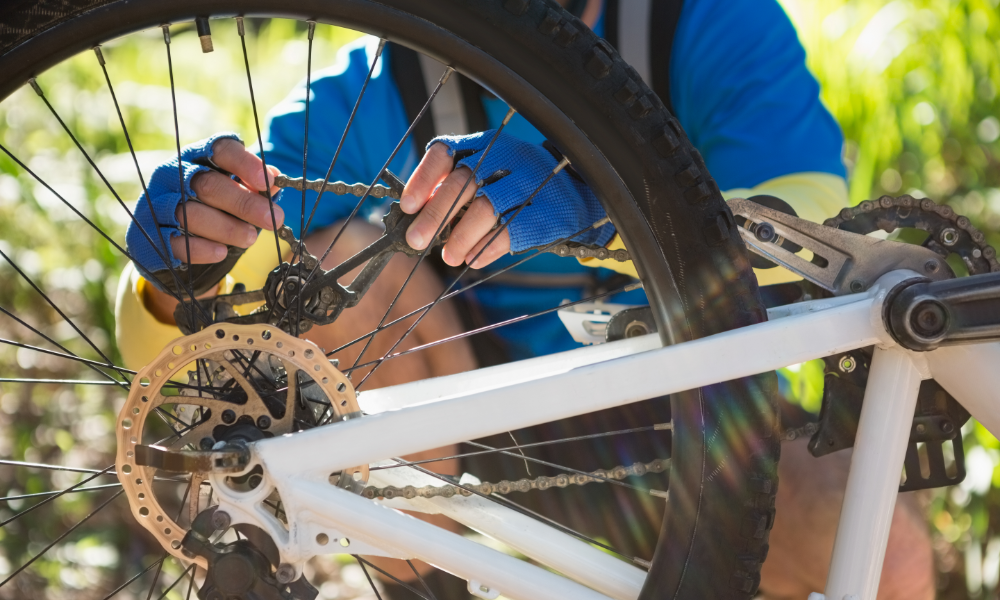
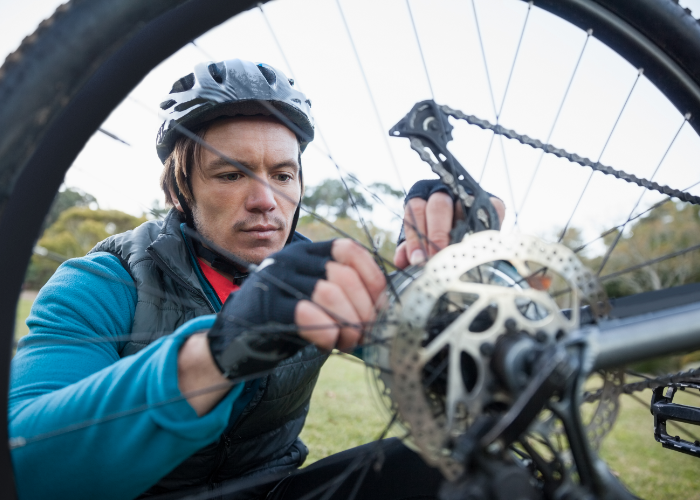
Removing the Old Chain
Once you have your tools at the ready, it’s time to remove the old chain. This can be done using a chain tool or by locating and disconnecting the master link. The master link can be identified by two plates with a pin in the middle. To disconnect the master link, press the pin to the master link and squeeze the two ends of the master link inwards, allowing the pins to be removed from the slot and the chain to be detached.
Some individuals prefer to remove the rear wheel to reduce tension on the chain during this process, but it’s not a necessary step. With the old chain removed, make sure to thoroughly clean the drivetrain before installing the new chain. Removing the old chain is a critical step towards ensuring a smooth and efficient mountain bike chain installation.
Measuring and Sizing the New Chain
Now that the old chain has been removed, it’s time to measure and size the new chain. Determining the correct chain length based on your bike’s gear combination is essential to avoid any issues with shifting gears or damage to the chain and other components.
In the next sections, we will explain how to calculate the chain length and adjust it accordingly for optimal performance.
Chain Length Calculation
Calculating the appropriate chain length is crucial for a successful chain replacement. To do this, you’ll need to consider the chainstay length, front chainring, and rear cog measurements. A popular formula used for determining chain length is L = 2 x C + F/4 + R/4 + 1, where L represents the chain length, C is the chainstay length, F represents the number of teeth on the largest chainring, and R is the number of teeth on the largest cog. If the chain length gives a decimal result, it is recommended to round it off to the nearest 0.5 inches. This will ensure accuracy and precision in measurement.
Another method of calculating chain length is the “big big plus two” method. In this approach, you wrap the uncut chain around the largest cassette tooth and largest chainring, bypassing the derailleurs. Pull the two ends of the chain together tightly. Add four additional links to the chain. By accurately calculating chain length, you’ll ensure a smooth, efficient ride that prolongs the life of your mountain bike’s components.
Adjusting Chain Length
With the correct chain length calculated, it’s time to adjust the chain length accordingly. A chain splitter tool is essential for removing excess links and achieving the desired chain length. If your chain is too long, it may result in sagging and contact with the derailleur cage, whereas a chain that is too short can cause damage to the drivetrain and complicate gear shifting. It’s worth noting that most new chains come longer than necessary to accommodate a variety of bikes and drivetrains.
When cutting the chain, ensure that the inner links are joined to the outer links. Most new chains are installed using a quick link. Therefore, the chain needs to be cut so that both ends of the chain consist of inner links. By adjusting the chain length accurately, you’ll ensure a smooth ride and prolong the life of your bike’s components.
Installing the New Chain
With the chain length adjusted, it’s time to move on to the installation process. Properly routing the new chain through the drivetrain components and connecting the chain ends is crucial for a successful mountain bike chain installation.
In the following sections, we’ll guide you through the steps to route and connect the new chain for optimal performance.
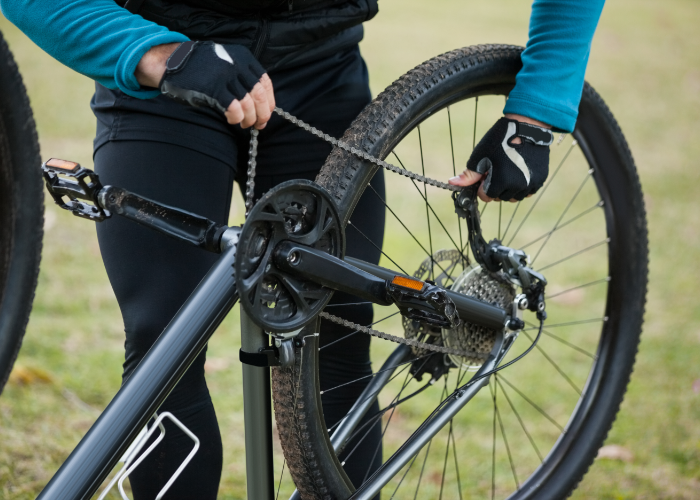
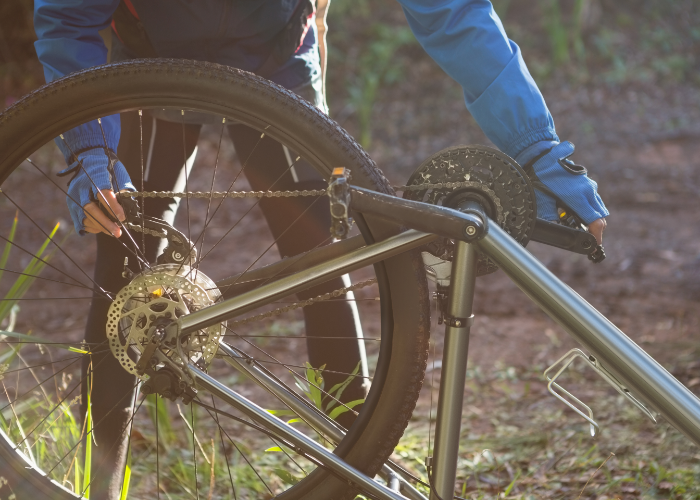
Routing the Chain
To route the chain, start by threading it around the front sprocket and then bring it inside the frame, through the derailleur, and finally, bring both ends of the chain together. Ensure the chain is correctly engaging each cog as you progress up to the largest rear cog. Keep in mind that certain chains have a directional orientation, so refer to the manufacturer’s instructions for proper installation.
After routing the chain, pull it tight to make sure the derailleur cage is pointing forward and connecting the chain. With the chain correctly routed, you’re now ready to move on to connecting the chain ends for a secure and seamless mountain bike chain installation.
Connecting the Chain Ends
The final step in the installation process is connecting the chain ends. This can be done using a master link or a chain tool, depending on your chain type. If you’re using a master link, slide half the master link to each end of the chain, then pull the chain together and assemble the master link by firmly squeezing the center of the link and pulling it until it clicks into place. Securely connect the chain with the master link using master link pliers. Make sure that the connection is tight and secure.
If you’re using connection pins, it’s important to use the chain tool. This will ensure that the pins push back through the connecting links efficiently. Fit the pins into the connecting links of the chain. Place the links in the outer slot of the chain tool. Rotate the handle of the tool clockwise to securely fasten and push the pins through the links. Once the body of the pin is firmly connected, remove the break-off pin, ensuring the pin is slightly protruding from the connecting links.
With the chain ends securely connected, you can now test and adjust the new chain for optimal performance.
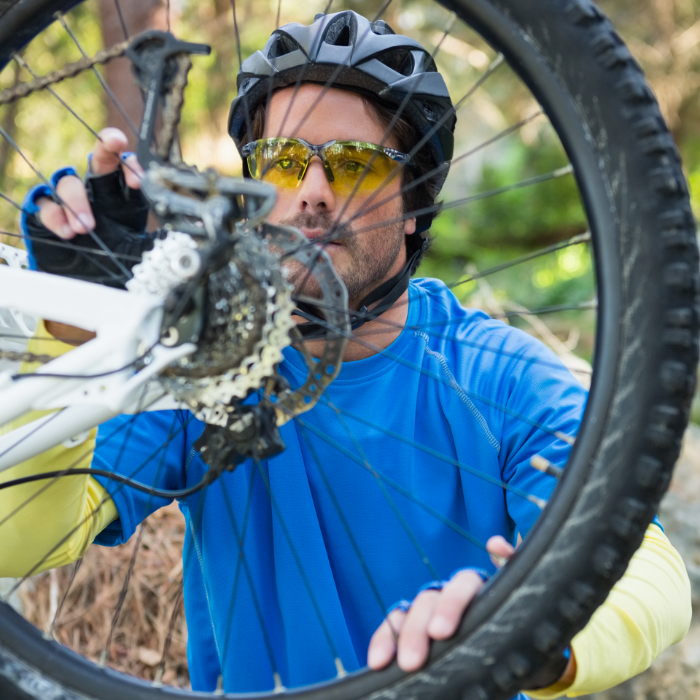
Testing and Adjusting the New Chain
After installing the new chain, it’s essential to test its performance and make any necessary adjustments. In this section, we’ll walk you through the process of testing the new chain.
Shifting gears and making fine-tuning adjustments are key to ensuring smooth operation. With the right adjustments, you can ensure that your new chain is running smoothly.
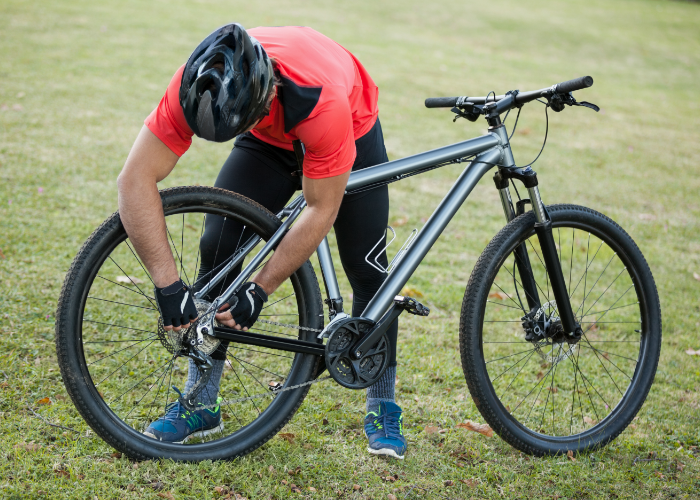
Gear Shifting Test
To test gear shifting on your mountain bike, gently pedal and shift through each gear consecutively. This will help you ensure that the new chain is functioning smoothly and accurately across all gears. If the chain fails to shift to a gear, investigate potential issues with the cables or derailleur alignment.
A smooth gear shifting test is an excellent indicator that your new chain is ready for the trails.
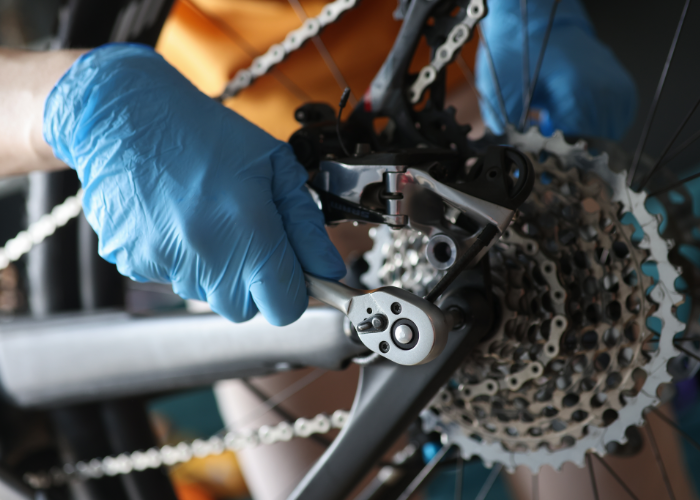
Fine-tuning Adjustments
If you notice any issues during the gear shifting test, it’s time to make fine-tuning adjustments. These adjustments can be made to the derailleur or chain tension for optimal performance. The barrel adjuster can be used to make adjustments to the brakes and shifter, ensuring accurate gear changes.
Start by adjusting the front derailleur, followed by the rear derailleur to maintain a smooth and efficient ride. By making these fine-tuning adjustments, you’ll ensure that your new chain operates smoothly and efficiently, providing you with a reliable and enjoyable mountain biking experience.
Maintaining Your Mountain Bike Chain
A well-maintained chain is essential for prolonging its lifespan and ensuring optimal performance. Regularly cleaning and lubricating your old bike chain keeps it in top shape, reducing friction and wear for a smoother ride. However, if you notice a worn chain, it’s time to replace it to maintain your bike’s efficiency.
In the following sections, we’ll discuss how to clean and lubricate your mountain bike chain, keeping it ready for your next off-road adventure.
Cleaning the Chain
To keep your chain in good condition, regular cleaning is essential. Use a cleaning kit, neutral detergent, and brush to effectively remove dirt and grime from the chain. Before lubricating the new chain, clean it with a degreaser and wipe it down with a dry cloth. For a thorough cleaning, use a chain solvent or soapy water and a stiff-bristled brush, scrubbing all the gears except for the one with the chain.
By regularly cleaning your mountain bike chain, you’ll not only prolong its life, but also ensure optimal performance on the trails. A clean chain is a happy chain!
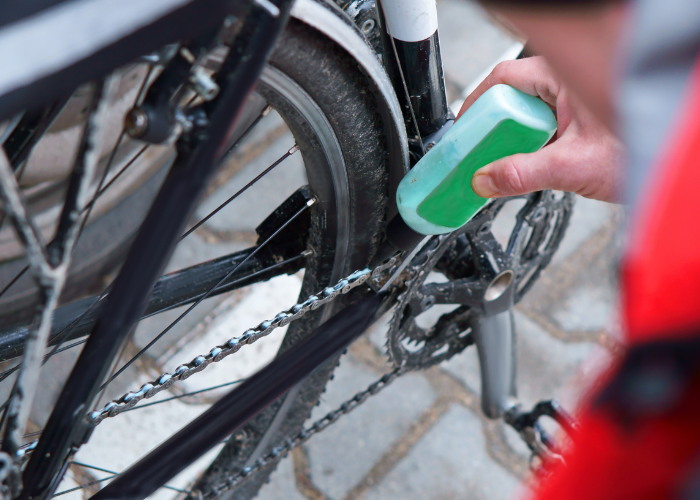
Lubricating the Chain
After cleaning the chain, it’s essential to lubricate it properly. Apply chain lube to the chain to reduce friction and wear, ensuring a smoother ride. Make sure to apply the lube only on the moving parts of the bike chain, avoiding unnecessary buildup on other components. If you notice dryness in the bike chain, oil it appropriately, but remember that moderation is key when it comes to applying chain lube.
Taking the time to clean and lubricate your mountain bike chain will not only enhance your riding experience, but also extend the life of your bike’s components. A well-maintained chain is the secret to a smooth and efficient ride!
Summary
In conclusion, replacing and maintaining your mountain bike chain is a crucial aspect of ensuring optimal performance and prolonging the life of your bike’s components. By following this step-by-step guide, you’ll be well on your way to a successful chain replacement, from identifying chain compatibility to measuring, sizing, and installing the new chain. Regular cleaning and lubrication will keep your chain in top shape, ready for your next off-road adventure. Now that you’re equipped with the knowledge and tools for a smooth mountain bike chain installation, it’s time to hit the trails and enjoy the ride!
Frequently Asked Questions
How do you put a chain back on a mountain bike?
You can easily get your mountain bike chain back in place with just a few steps. First, use a chain breaker to remove the broken link.
Then lay the new chain over the smallest chainring at the front and the smallest cog at the rear. Finally, insert the pin into the chain breaker and screw it back out to complete the job.
Where do you put the chain on a mountain bike?
To properly mount a chain on a mountain bike, begin by placing the chain on the smallest chainring. Ensure the chain remains on the chainring and proceed to the smallest cog on the cassette.
To help ease the chain onto the upper jockey wheel, push the derailleur cage slightly forward. With this approach, you’ll have your chain securely fastened.
How do I determine the correct chain speed for my mountain bike?
It is essential to consult your bike manual to determine the correct chain speed for your mountain bike. This will ensure you obtain optimal performance from your bike as well as extend its longevity.
How often should I clean and lubricate my mountain bike chain?
For a consistently smooth ride and optimal performance, it’s important to take the time to regularly clean and lubricate your bike chain. We recommend doing this every 50-100 miles of riding or every month or two, whichever comes first.
What tools do I need for mountain bike chain replacement?
To replace the chain on a mountain bike, you’ll need a chain splitter tool, pliers, master link pliers, degreaser, and chain lube. Make sure to have these tools at hand before tackling the task of chain replacement.